

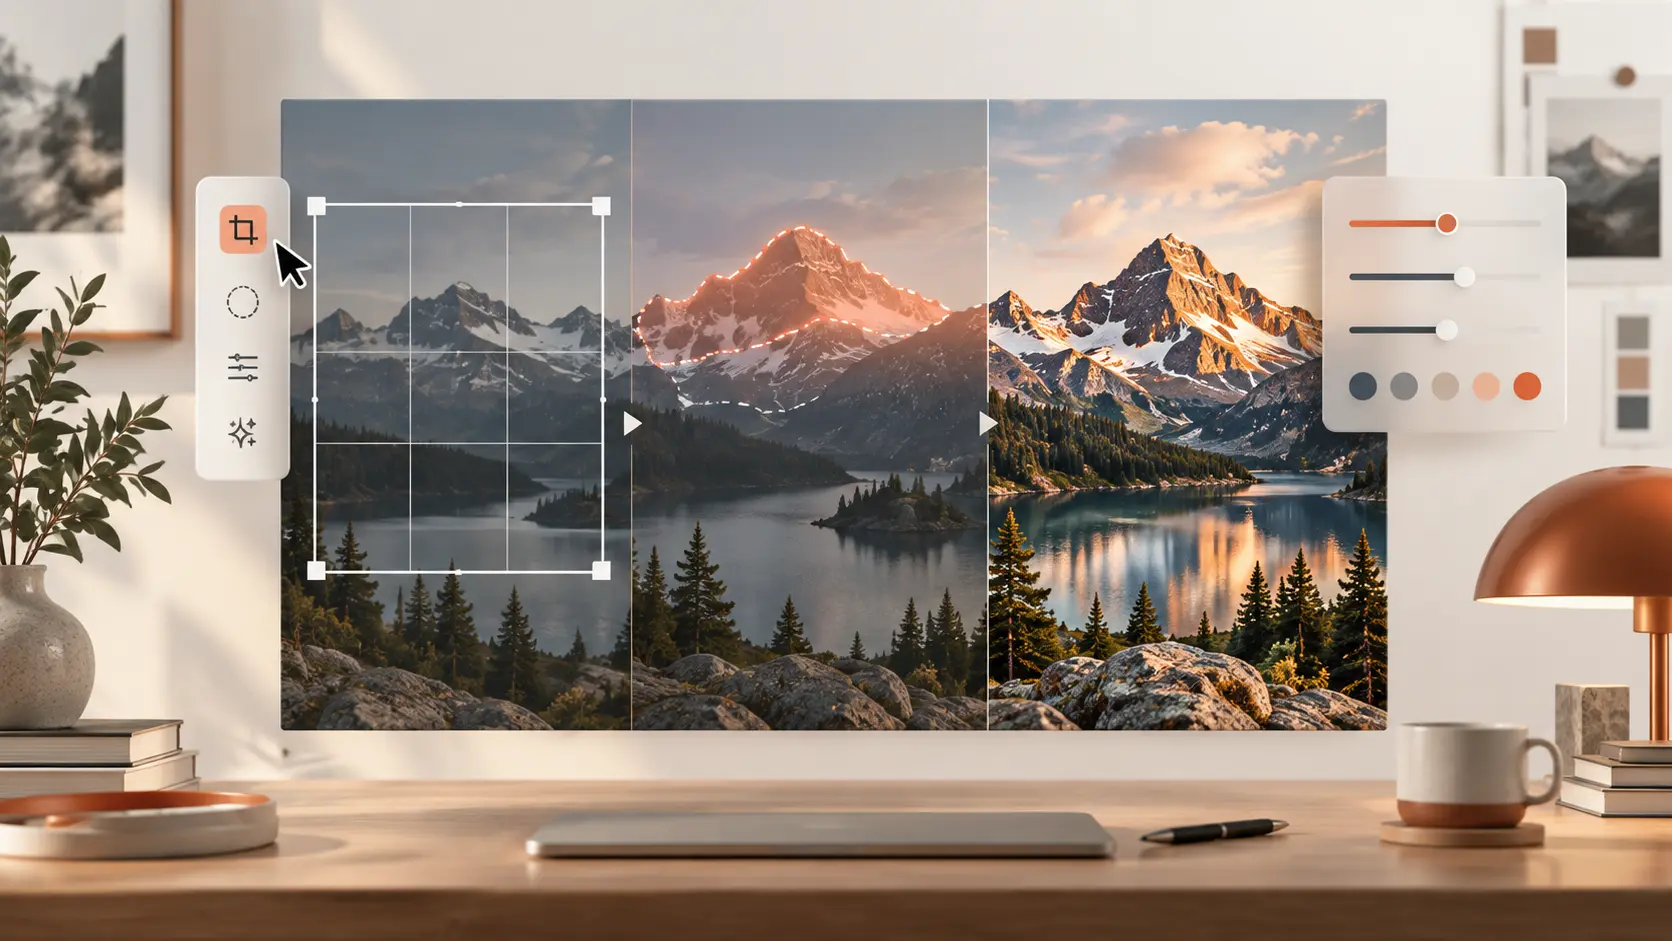
A single strong reference image can become the starting point for a complete set of campaign assets. The challenge is not simply generating an attractive result—it is changing the setting, format or story while preserving the details that identify the original subject.
ChatGPT Images 2.5 is designed for this kind of reference-led work. OpenAI says the model improves subject preservation, focused editing and consistency across multiple turns. Those improvements make iterative workflows more practical, but they do not remove the need for a careful brief and human review.
What changed in ChatGPT Images 2.5?
OpenAI introduced ChatGPT Images 2.5 on 8 September 2026. Its announcement highlights sharper details, more natural lighting and textures, more precise editing, and generation latency reduced by up to 50% compared with Images 2.0. It is available across ChatGPT tiers on desktop, mobile and web. Read OpenAI’s Images 2.5 announcement.
The most useful improvement for creators and businesses is not novelty. It is the ability to ask for a targeted change while keeping more of the original subject, composition and visual treatment intact. OpenAI also says earlier changes are more likely to remain consistent through a longer editing conversation.
“More likely” matters. Image editing remains generative: a result can look convincing at first glance while quietly changing clothing, facial details, product markings, text or proportions. Treat every output as a draft that needs inspection.
Start with one clear source image
Choose a sharp image with enough resolution to show the subject’s important features. If you are editing a product, vehicle or person, avoid beginning with an image in which crucial details are hidden, blurred or heavily compressed.
Before uploading, decide what belongs in two lists:
- Locked details: subject identity, clothing, product shape, logos, colours, camera angle or other elements that must remain unchanged.
- Editable details: background, surrounding people, lighting, crop, atmosphere, props or output format.
Only upload material you have permission to use. Remove or avoid sensitive information that does not need to be processed.
ChatGPT lets you upload an existing image and describe the change in conversation. You can also select an area to edit, although OpenAI cautions that selections are not always precise and changes may extend outside the highlighted area. See OpenAI’s image-editing guide.
Use a prompt that separates change from preservation
A practical editing prompt has four parts:
- State the transformation.
- Name the details that must remain unchanged.
- Describe the new environment or output.
- Define the composition and final format.
For example:
Remove the surrounding people and parked vehicles. Keep the main car unchanged, including its livery, proportions, wheels and camera angle. Place it in a busy professional racing paddock with believable daylight and depth. Create a landscape 16:9 image with the car as the clear focal point.
This does not guarantee perfect fidelity, but it reduces ambiguity. Replace broad instructions such as “make it better” with observable requirements.
Build a sequence of purposeful edits
One source can support several different assets. Make each edit solve a real communication need.
1. Clean the source
Remove distracting objects while protecting the main subject. This creates a flexible base image for later variations.
Inspect edges, reflections and shadows after removal. A clean background is not useful if the subject acquires distorted bodywork or missing details.
2. Change the setting
Move the subject into a context that reinforces the story: a product in use, a speaker on stage or a vehicle in a paddock.
Specify the environment, lighting, point of view and how prominent the subject should be. Ask for believable integration rather than merely naming a location.
3. Stage a reveal
Turn the same subject into an event image by describing the audience, lighting, platform and moment of action. If a cloth is being pulled away, explain how much of the subject is visible and which direction the cloth is moving.
This is useful for launches and announcements, but inspect brand marks and physical details closely before treating the image as product-accurate.
4. Place the creative in a wider scene
An image can become content inside another composition—for example, an advertisement displayed on a cinema screen. Define both layers: what appears on the screen and what the surrounding venue looks like.
Nested scenes introduce more opportunities for altered text and geometry. Keep screen copy minimal unless exact wording is essential, then check every character.
5. Adapt it for a channel
For a YouTube thumbnail, social post or carousel, state the aspect ratio, focal point and space needed for later typography. If you include a portrait reference, say whether clothing, facial features and expression must remain unchanged.
A useful workflow separates image creation from final layout. Generate the visual foundation first, then add exact headlines and brand elements in a design tool where typography can be controlled.
CreatorTech’s Image Generator can turn an idea or script into branded slides that you can edit and download. Use generated reference visuals only where you have the right to publish them, and verify the final composition before export.
Review every result at two scales
First inspect the whole image at thumbnail size:
- Is the subject immediately clear?
- Does the composition support the intended message?
- Is there enough space for any planned copy?
- Does the new setting feel coherent?
Then zoom in:
- Has the person’s face, hairstyle or clothing changed?
- Are product features, logos and colours intact?
- Is all visible text accurate?
- Are hands, wheels, reflections and edges plausible?
- Did the edit alter anything on the locked-details list?
A polished image can still be wrong. If a T-shirt becomes a hoodie, a logo changes or a vehicle gains a different body detail, do not describe the result as preserved. Correct the specific issue or return to the last reliable version.
Prefer small, reversible iterations
Make one meaningful change at a time when fidelity matters. Save accepted versions before moving on, and refer back to the last correct image if a later edit drifts.
OpenAI says Images 2.5 is better at multi-turn consistency, but a production workflow should still keep a simple version history:
- source;
- cleaned source;
- approved setting;
- approved campaign composition;
- final channel asset.
This makes it easier to identify where an unwanted change appeared and prevents a flawed version from becoming the basis for every later asset.
The practical takeaway
Use ChatGPT Images 2.5 as an iterative creative editor, not an automatic final-publishing step. Define what may change, lock what must not change, create one purposeful variation at a time and inspect both the overall composition and small details.
The strongest workflow combines generative speed with a disciplined review: create, compare, correct, then publish.
Build on the idea
Join the conversation.
Share a question, a useful example or what you tried. Keep it constructive. Your display name and comment are visible to readers; your email is never shown.
No comments yet. Start the conversation.